


Key Takeaways
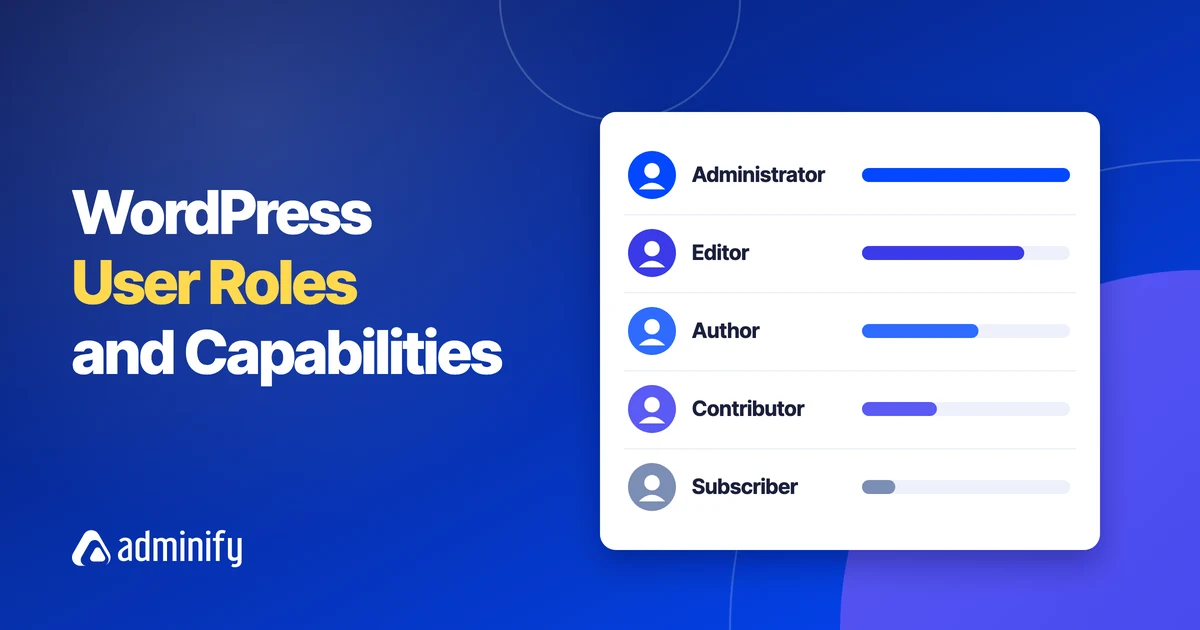
- WordPress ships with five single-site roles (Administrator, Editor, Author, Contributor and Subscriber), and a custom user role is any extra role you add with its own set of capabilities.
- The fastest way to build a WordPress custom user role is to clone an existing role, such as Editor, and then add or remove a few capabilities instead of starting from an empty list.
- RoleMaster Suite, a free plugin by Pixar Labs, creates a role from its Add Role dialog with three fields: Display Role Name, Role name (ID) and Make copy of.
- The WordPress function add_role() saves the new role in the database, so it should run once, for example on plugin activation, and not on every page load.
- The WP-CLI command wp role create client_manager "Client Manager" --clone=editor creates the same cloned role from the command line in one step.
A WordPress custom user role is a role you add next to the five built-in ones, with exactly the capabilities a group of people needs. On our WordPress 7.1 test site we created a "Client Manager" role, cloned from Editor. The steps below build that role three ways: with a plugin, with the add_role() function and with WP-CLI.
The method suits anyone who hands a site to clients or staff. If you first want to know what each default role and capability does, read our guide to wordpress user levels. For the plugin method, you can try RoleMaster Suite free on any site.
When Do You Need a Custom User Role?
You need a custom user role when none of the five default roles fits a real job on your site. Editor is often too strong for a client, and Author is too weak. A custom role lets you give exactly the capabilities needed, so people can do their work without touching plugins, themes or settings.
Common cases:
- A Client Manager role, where the client can edit all posts and pages and moderate comments, but cannot install plugins or change settings.
- Shop staff: a person who handles orders but should not edit the theme or see other admin screens.
- SEO or content reviewer: someone who edits other people's posts but never publishes.
- Support agent: a person who needs to see the user list to help customers, which Editor cannot do by default.
A role is only a named list of capabilities, such as edit_posts, publish_pages or list_users. The official Roles and Capabilities reference lists every core capability. Before you add a role, it also helps to check whether editing an existing role is enough. Our post on the wordpress user role editor covers that path.
Clone an Existing Role with RoleMaster Suite
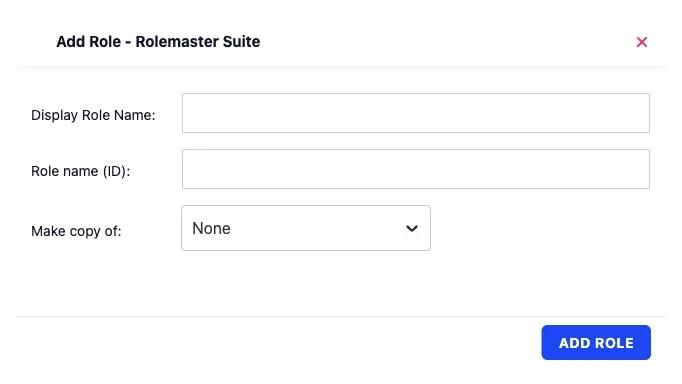
The easiest way to add a new role in WordPress is to copy a role that is close to what you need. In RoleMaster Suite, open the Add Role dialog, type a display name and an ID, pick a role in "Make copy of", and click Add Role. You then adjust capabilities from the same screen.
Here is how we created the "Client Manager" role on the test site:
- Install and activate RoleMaster Suite from Plugins > Add New. With WP Adminify active, it appears at Adminify > User Role Editor.
- Click Add Role in the toolbar at the top of the screen.
- In Display Role Name, type
Client Manager. This is the name people see in the Users screen. - In Role name (ID), type
client_manager. Use lowercase letters and underscores. WordPress stores the role under this ID, so pick it with care. - In Make copy of, choose Editor. The new role starts with all of Editor's capabilities.
- Click Add Role.
Now select the new role in the Select Role menu and change what it can do. The left column groups capabilities by area (Posts, Pages, Media, Users, Themes, Plugins and more), and the Granted Only filter shows only what the role already has. For our Client Manager we kept the Editor capabilities and ticked list_users, so the client can see who has an account. Click Save Changes when you are done.
Rename, copy or delete roles from one screen. RoleMaster Suite in WP Adminify has Add Role, Rename Role, Delete Role, Add Capability and Delete Capability buttons in one toolbar.
Create a Role with Code: add_role()
To add a role with code, call the WordPress function add_role() with a role ID, a display name and an array of capabilities. The role is saved to the database, so run the code once, for example when a small plugin is activated, and remove the role on deactivation if you no longer need it.
This small plugin creates the same Client Manager role. It copies Editor's capabilities and adds list_users. Save it as wp-content/plugins/client-manager-role/client-manager-role.php and activate it from the Plugins screen.
1
2<?php
3/**
4 * Plugin Name: Client Manager Role
5 * Description: Adds a Client Manager role cloned from Editor.
6 */
7
8function pl_add_client_manager_role() {
9    $editor = get_role( 'editor' );
10    $caps   = $editor ? $editor->capabilities : array( 'read' => true );
11
12    $caps['list_users'] = true;
13
14    add_role( 'client_manager', 'Client Manager', $caps );
15}
16register_activation_hook( __FILE__, 'pl_add_client_manager_role' );
17
18function pl_remove_client_manager_role() {
19    remove_role( 'client_manager' );
20}
21register_deactivation_hook( __FILE__, 'pl_remove_client_manager_role' );
22
Notes on add_role():
- add_role() does nothing if a role with the same ID already exists. To change an existing role, use
get_role( 'client_manager' )->add_cap( 'capability_name' )instead. - Avoid calling add_role() on the
inithook in your theme's functions.php. It runs on every request, and once the role exists, later changes to the capability list in your code do nothing. - Deactivating this plugin deletes the role. Users who still have it lose their access, so move them to another role first.
The add_role() reference on developer.wordpress.org shows both array formats it accepts.
The WP-CLI shortcut
If you have SSH access, WP-CLI creates the cloned role in one line:
1
2wp role create client_manager "Client Manager" --clone=editor
3wp cap add client_manager list_users
4
Assign the Custom Role to a User
A new role does nothing until a user has it. Go to Users, open a user's profile or click Add User, pick the custom role in the Role dropdown, and save. The role then shows in the Role column of the Users list, next to the default roles.
- For a new person, go to Users > Add User. Fill in Username, Email and the other fields, then pick Client Manager in Role.
- For an existing person, open Users > All Users, click the name, change Role and click Update User.
- To change many people at once, tick them in the list and use the Change role to dropdown above the table.
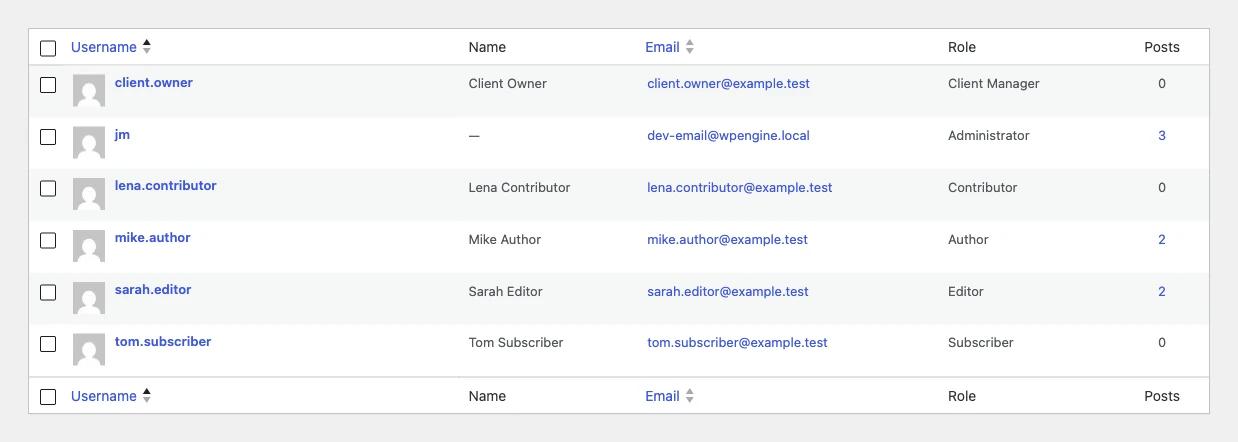
Always test the role. Create a test user with the new role, log in with it in a private browser window, and try the screens the person should and should not reach. A user who opens a screen without the right capability sees "Sorry, you are not allowed to access this page."
Give the Role Its Own Dashboard
Capabilities decide what a role can do, but not how the admin looks. After you create a custom role, you can hide menu items the role never uses and send the role to a chosen page after login. WP Adminify does both from its settings, without code.
- Hide menu items per role: in Adminify > Admin Menu > Menu Editor, expand a menu item and use Hidden For Roles or Users to hide it from Client Manager. The capability stays, so hiding the item only tidies the menu.
- Send the role to one page after login: Adminify > Security > Redirect URLs > Roles Redirect (a Pro feature) sets login and logout redirects by user, role or capability. For example, Client Manager can land on Pages instead of the Dashboard.
If a person must not change settings, remove the capability. If a menu item only distracts them, hide it.
Frequently Asked Questions
How do I add a new role in WordPress without a plugin?
Use the add_role() function inside a small plugin and run it on activation, or use the WP-CLI command wp role create with the --clone option. Both save the role in the database. WordPress has no screen for adding roles, so without code or WP-CLI you need a role plugin.
Where does WordPress store custom user roles?
WordPress stores all roles, including custom ones, in the options table under the user_roles option with your table prefix, for example wp_user_roles. That is why add_role() only needs to run once. The role stays after the code that created it is removed, until you call remove_role().
Can a WordPress user have two roles?
WordPress core supports more than one role per user in its code, but the Users screen only lets you pick one role. Most sites are easier to manage with one custom role per job, built from a clone, than with several roles stacked on one user.
What happens to users when I delete a custom role?
Users who still have a deleted role lose the capabilities that came with it and may not be able to reach the dashboard. Move them to another role first, from Users with the Change role to option, and then delete the custom role.
Is it safe to clone the Administrator role?
Cloning Administrator gives the new role full control, including installing plugins and editing users. That is rarely what you want for a client or staff member. Clone Editor or Author instead and add only the few capabilities the person needs.
Final Thoughts
A WordPress custom user role takes three steps: create it (clone Editor in RoleMaster Suite, call add_role() once, or run wp role create), adjust a few capabilities, and assign it to users. Our Client Manager role started as a copy of Editor with one extra capability, list_users. Test every role with a real login before you hand the site over.
For the full picture of what each built-in role can do, see WordPress User Roles and Capabilities. When you are ready to manage roles from a screen instead of code, RoleMaster Suite is free on WordPress.org.

Your email address will not be published