
Admin columns
How to Customize Admin columns from any post type?
Navigate to the option panel for Admin Columns from WP Adminify > Admin Columns. Now select your preferred post type (Default selected as post), and you will get all of their columns.
Add custom Columns
At the bottom, you can see a button called "Add New", just click on this button and you will get a field with some pre-defined admin columns data.
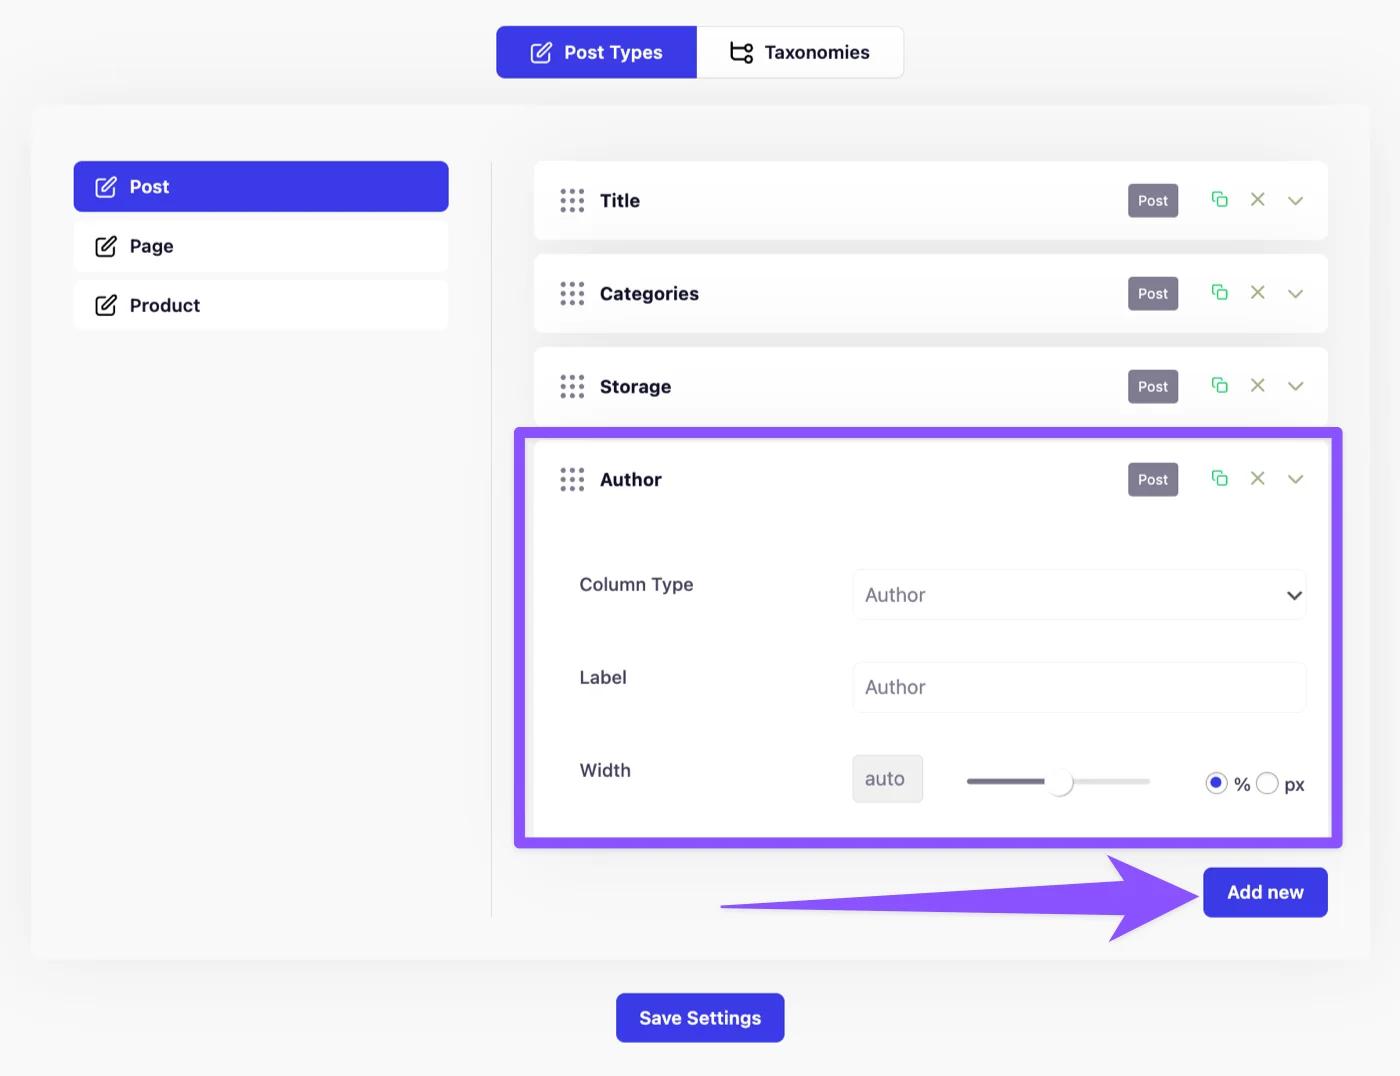
As soon as I clicked on the "Add New" button, the Author column is added.
Modify the data
You can change the column type to any available type. Just click on the dropdown icon and you will get all available type for your WordPress Dashboard.
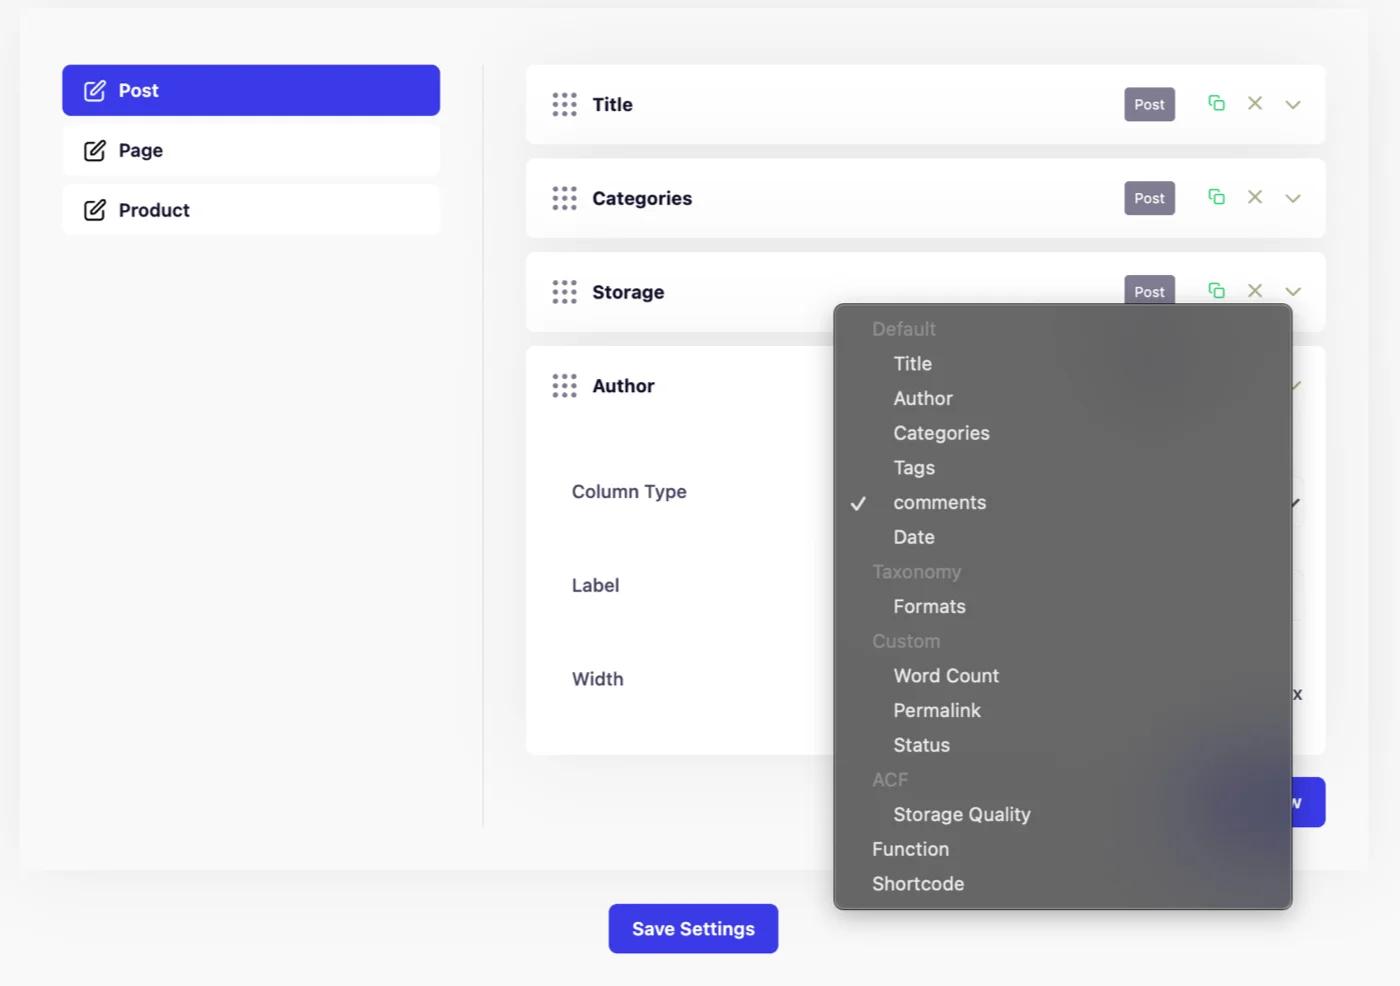
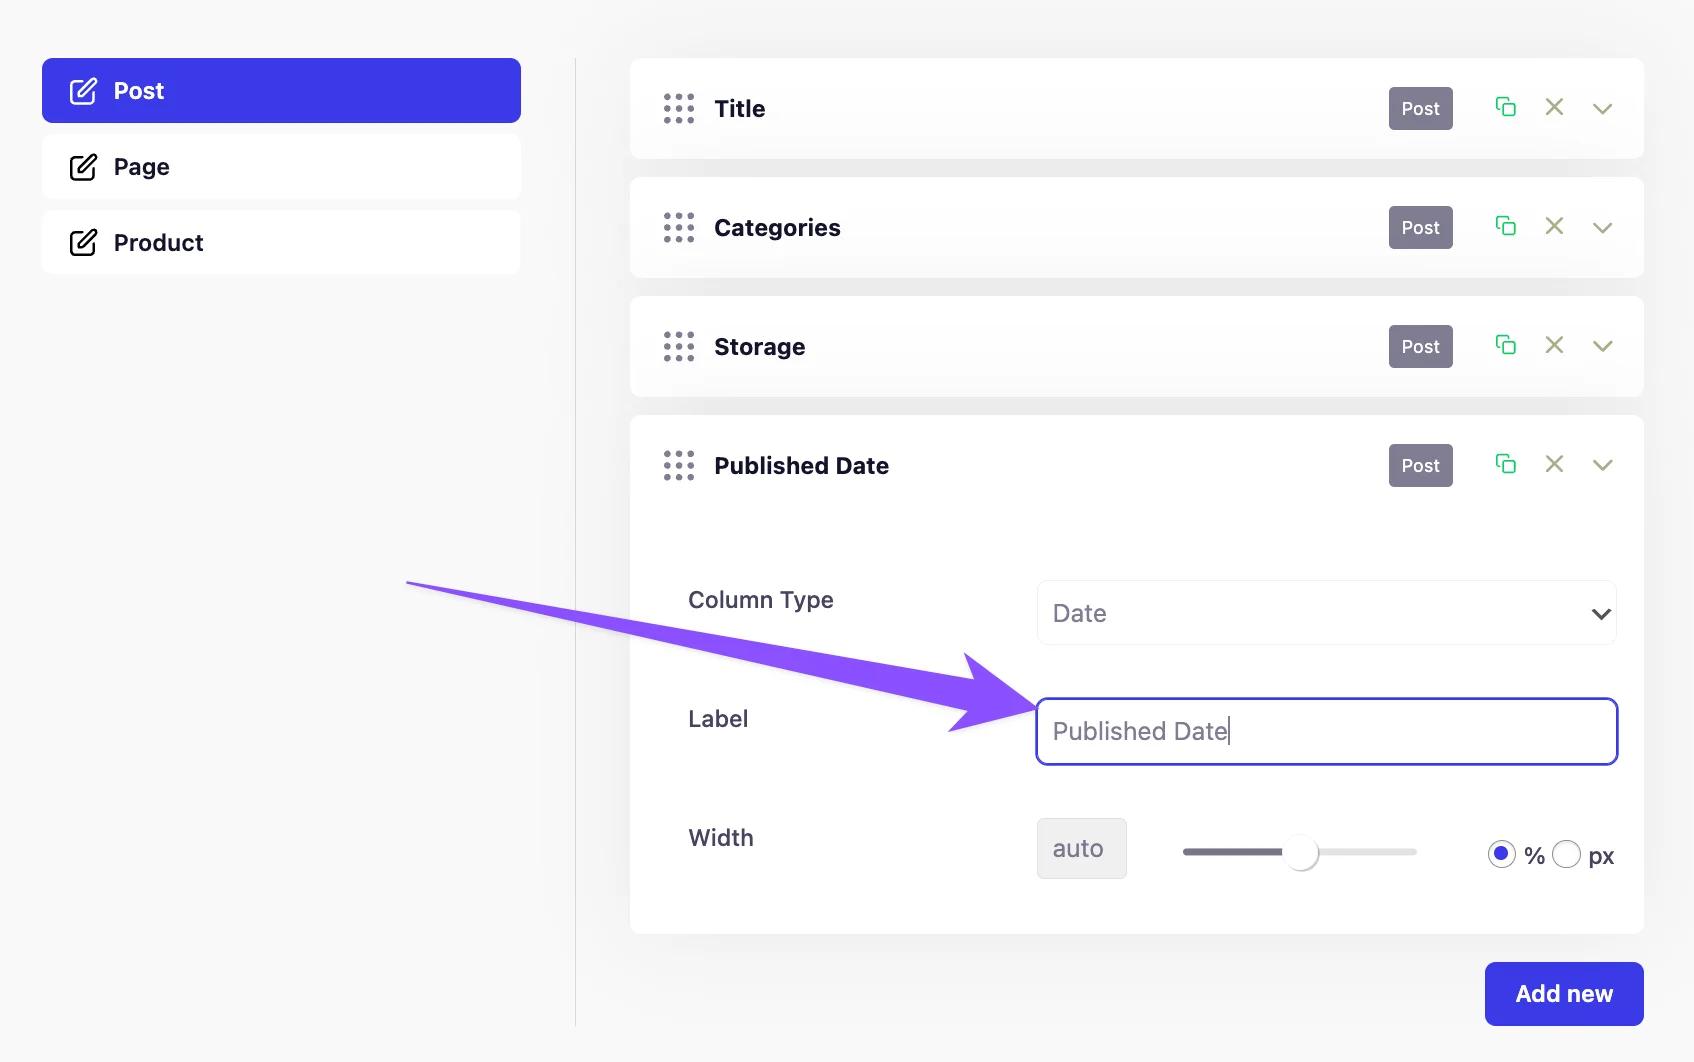
Now you can select any other available column type, for example, I am going to select the Date and change the label text to "Published Date" from "Author".
Control the width
This is another important feature of our Admin Columns Editor addon. You have the control the fix the width of your specific admin columns in percentage or px.
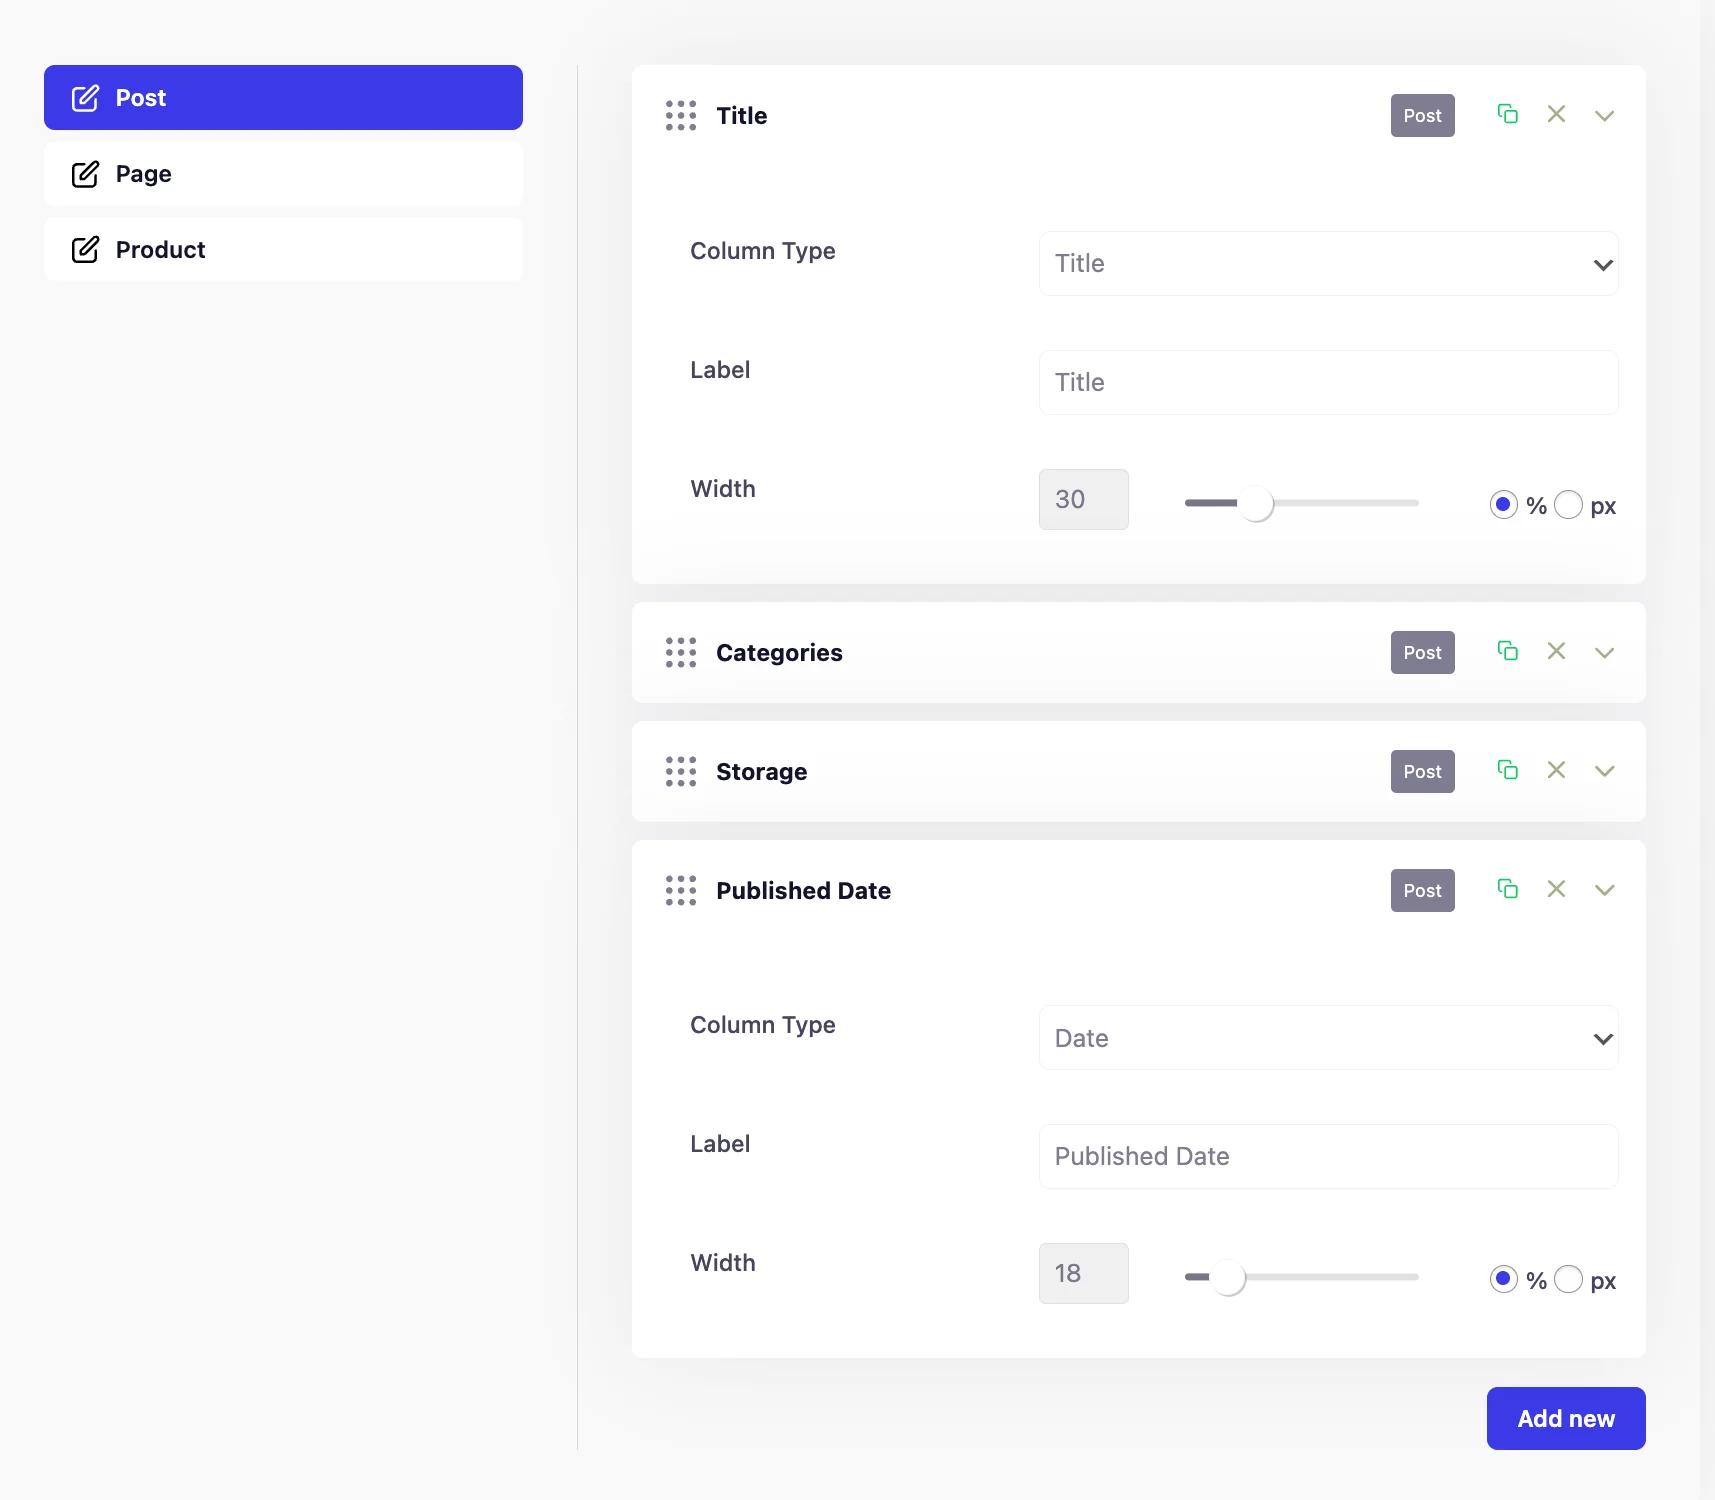
Tips: While using percentages, try to set a value for all your admin columns that return 100.
Test and Preview
Now the post looks something like the following screenshot:

Sometimes you may miscalculate the width value, which is why it may looks odd, but you can always change the value and test the preview.
The same customization allows for all taxonomies, custom post types.
Didn’t find what you were looking for? Get in touch!
Updated on October 2, 2024
Was this helpful to you?