
How to create Floating Menu in WordPress Dashboard?
Quick menu addon by WP Adminify plugin offers you to pin your most used option in a floating menu.
If you have installed the Quick Menu properly, then you are ready to go with the following steps.
Step 1: Navigate to the option panel
Go to WP Adminify > Quick Menu to access the main option panel.
By default, you can see there are 3 menu items added. You can modify them or delete them.

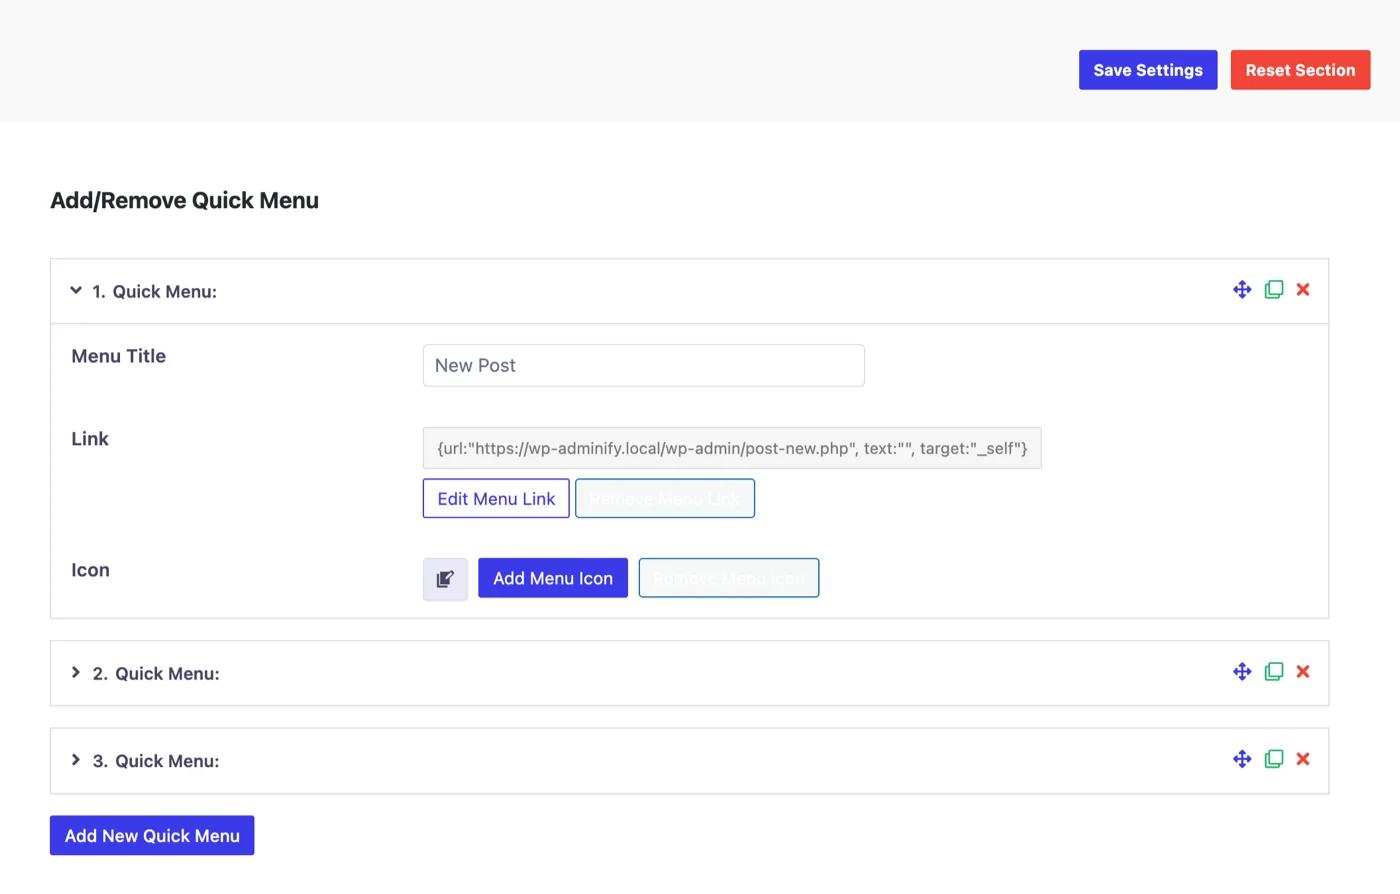
Step 2: Edit default quick menu items
Just click on the default items and it will expand with some options like Menu title, link, and icon. You can change all of this default content, input any URL and choose your icon.
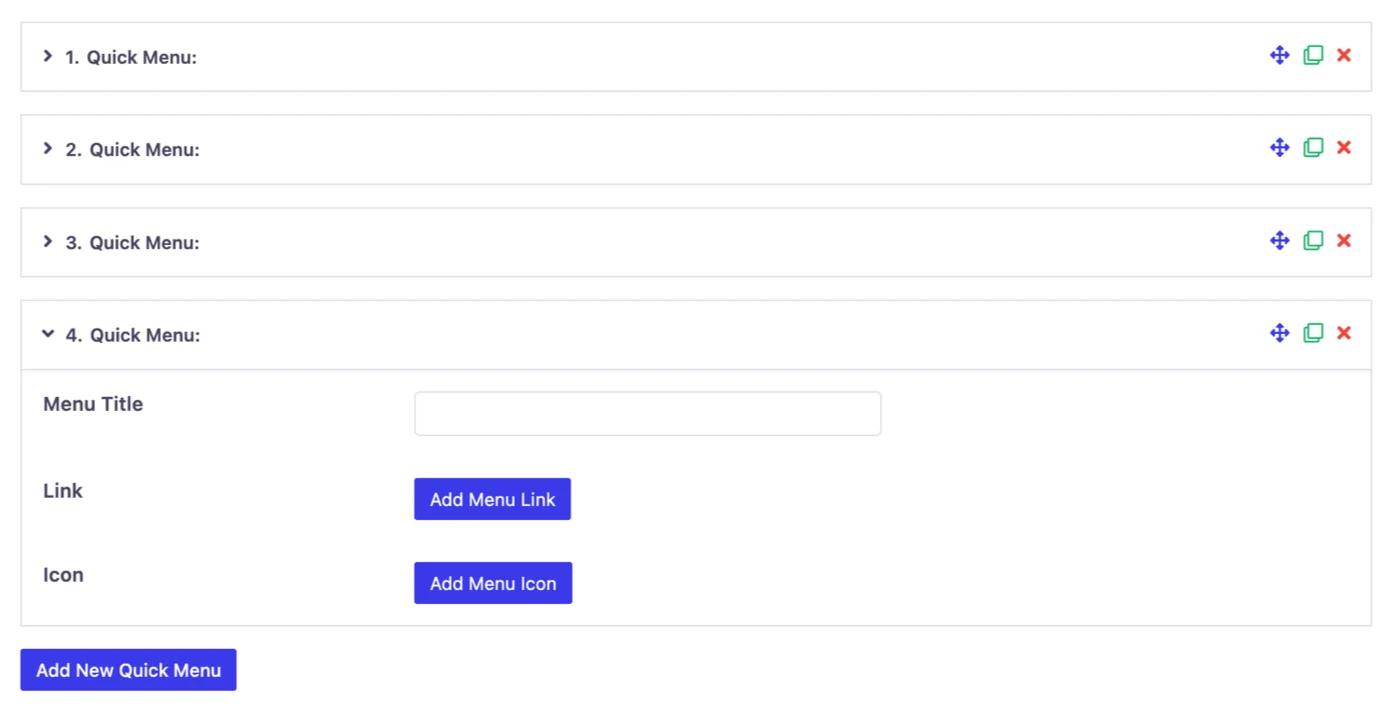
Step 3: Add new menu items
You can see a button called "Add New Quick Menu". Just click on this button and it will add a new item with blank information. Just set your menu title, link, icon properly and save the settings.
Step 4: Hover and preview
You can see a hamburger menu added at the bottom right position in your Dashboard. Just hover on this icon and you will notice all of your quick menu items appear here.

Didn’t find what you were looking for? Get in touch!
Updated on October 2, 2024
Was this helpful to you?