
WP Adminify
How to Create Folder for Any Post Types and Media?
Follow these steps to create folders for posts, pages, or custom post types using WP Adminify.
Step 1: Access Folder Settings
First, go to the following path:
WP Adminify > Productivity > Folders
Step 2: Enable the Folder Feature
Look for the toggle switch beside the “Folders” section.
Turn the switch ON to activate the folder feature.
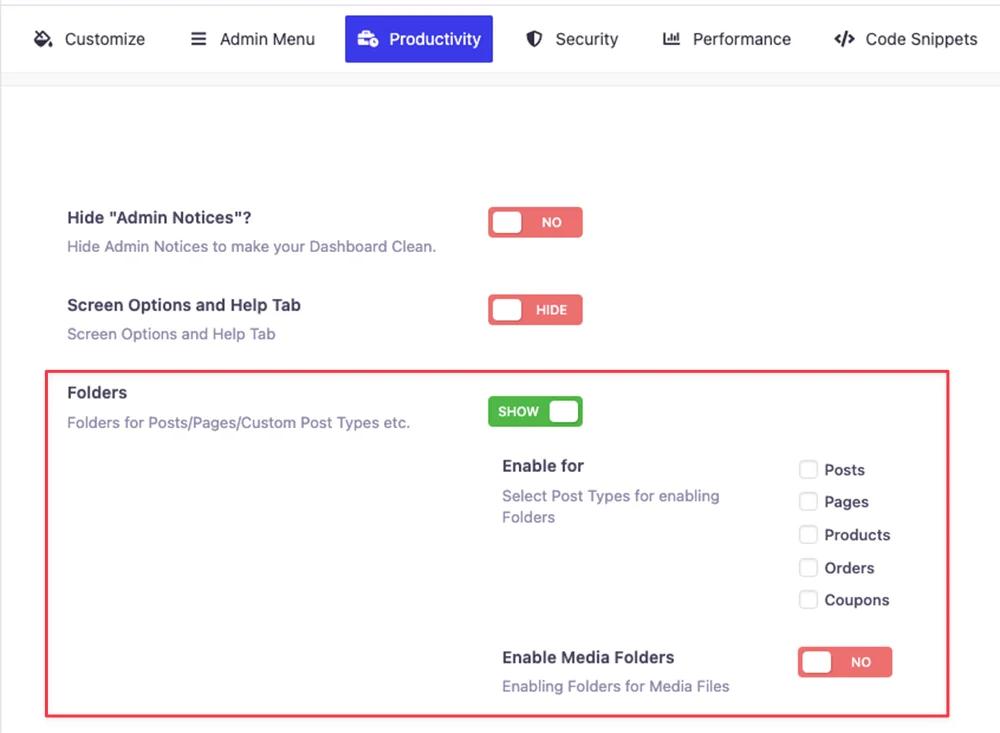
Step 3: How to Create Folder for Post Types
In the Enable for section, you’ll see a list of available post types.
Check the boxes for the post types you want folders enabled for, such as:
- Posts
- Pages
- Floating Elements
- My Templates
You can enable folders for one or multiple post types based on your preference.
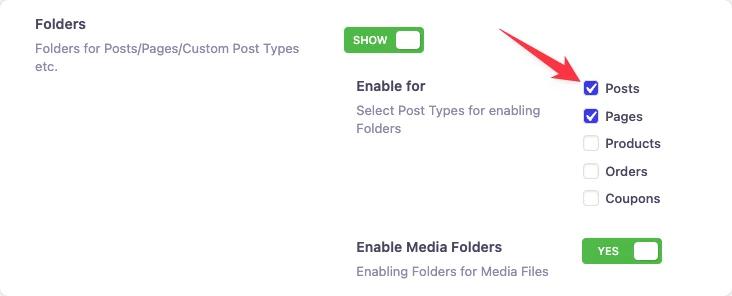
Also, you can enable media folders with WP Adminify.
Simply, toggle the “Enable Media Folders”, till the button turns to green.
Step 4: Save the Settings
Don’t forget to click the Save Changes button to apply your settings.
Step 5: Start Organizing Your Content
After saving, you’ll now be able to create and manage folders directly within your post or media libraries:
- Go to your Posts or Media Library.
- You will see an option to create and assign folders to better organize your content.
Note: If you use any other media library folder plugin, then our Adminify media folder will be disabled. If you like to use WP Adminify media folder then you should not use other media folder plugin.
Didn’t find what you were looking for? Get in touch!
Updated on September 25, 2024
Was this helpful to you?