
WP Adminify
How to Customize Admin UI Template with WP Adminify?
To enable, Disable, and customize the WP Adminify UI, navigate to the WP Adminify option panel > Customize.
You will notice an option called “Adminify UI”. Just toggle this option, and it will be enabled with the default Adminify UI.
Save the settings and reload to see the output.
Adminify UI Templates
WP Adminify offers a total of 9 UI templates and a color picker for users. Select any template and you can visually notice the changes without saving the settings.
Custom Color Preset
This option allows the user to provide a personal touch on their WordPress Dashboard. You can choose what colros you like to define as body, primary, secondary, Admin menu and much more.
Custom Background
Instead of colors, you can use a Gradient and an image as your WordPress Dashboard background. To enable the custom background for your Dashboard, make sure to toggle on the switch first.
Gradient Background
By default, the background type is selected as Gradient. Now select the from and to colors properly.
Then choose the direction for your Gradient.
Finally, select scroll or fixed, whatever you prefer for your Background. Then save the settings and reload.
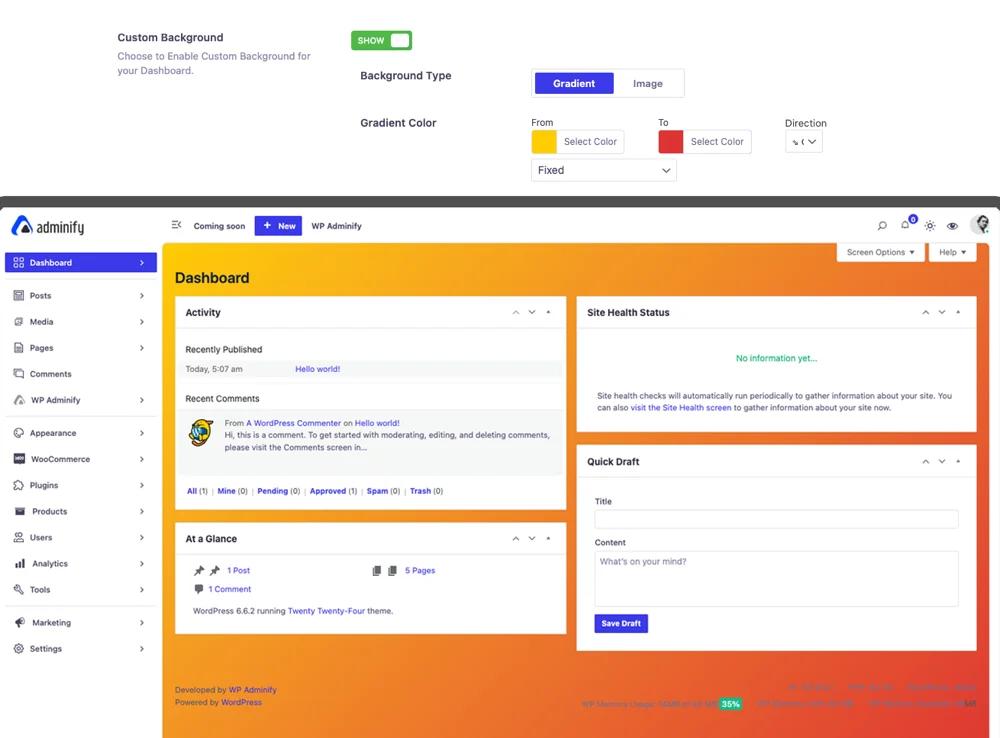
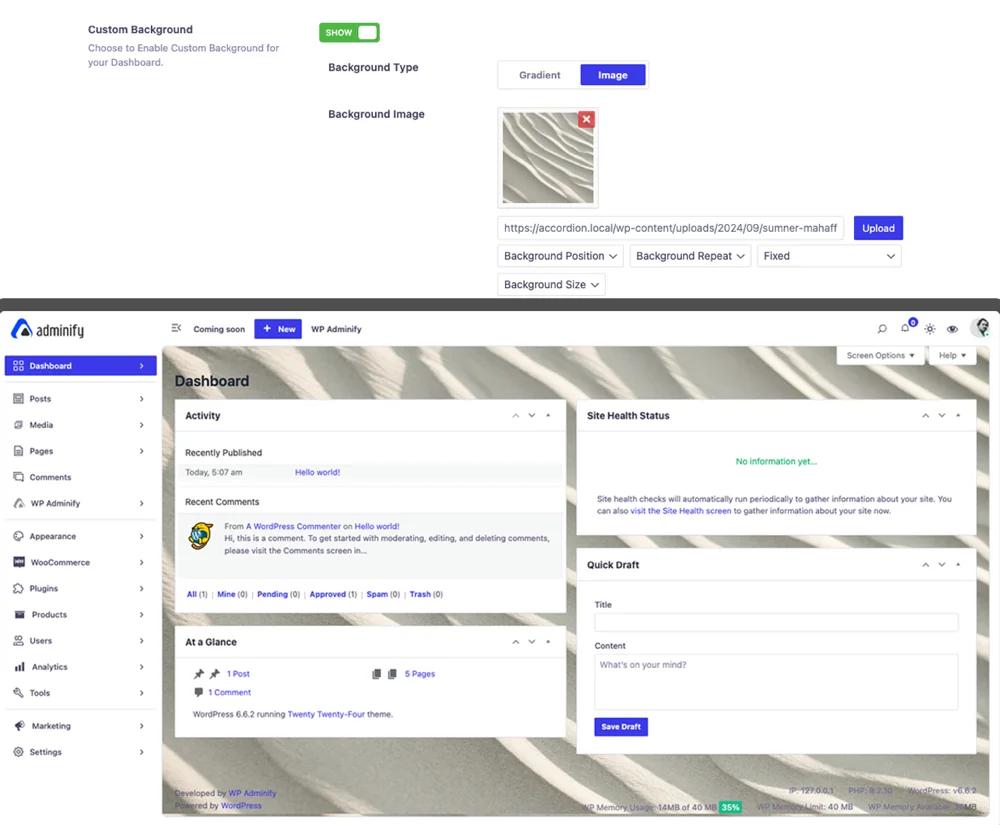
Image Background
Just select the background type as image.
Upload your preferred image to your WordPress media library and choose from existing media in your library.
Then customize other background image properties like Position, Size, Repeat, and Attachment.
When you are done, just save the settings and reload to preview the changes.
That's all about the customization for WP Adminify UI Templates.
Didn’t find what you were looking for? Get in touch!
Updated on September 19, 2024
Was this helpful to you?